

 |
 |
An N-Scale Santa Fe branchline through the mountains |
| Jump Directly to a Year | Home |
Started working on a Railroad Rooming House. Initial painting.  Then created a simple interior insert to control light leaks so I could light individual rooms  Started adding the porch  Next up, the railings and the roof |
Finished the Railroad Rooming House. Added the roofing material, plus a few patch spots.  Then weathered it all up 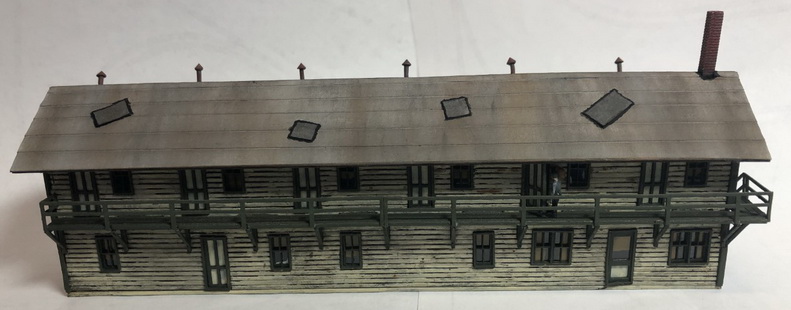 And here it is all lit up  |
Part 1 - Showcase Miniatures: R. Perez & Sons Car & Carriage Works. The first floor is stucco. Just getting started on initial paint colors.  |
Part 2 - Showcase Miniatures: R. Perez & Sons Car & Carriage Works. Painted the wood walls. 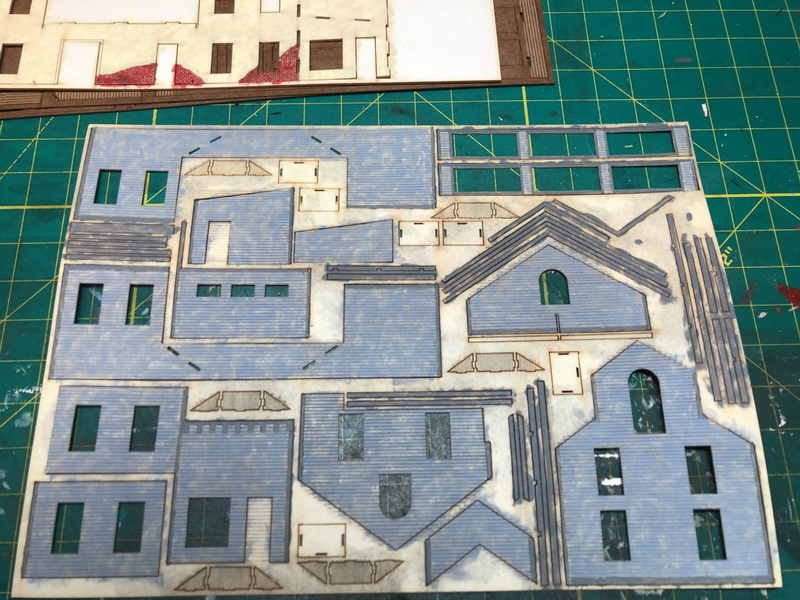 Started putting the walls together. 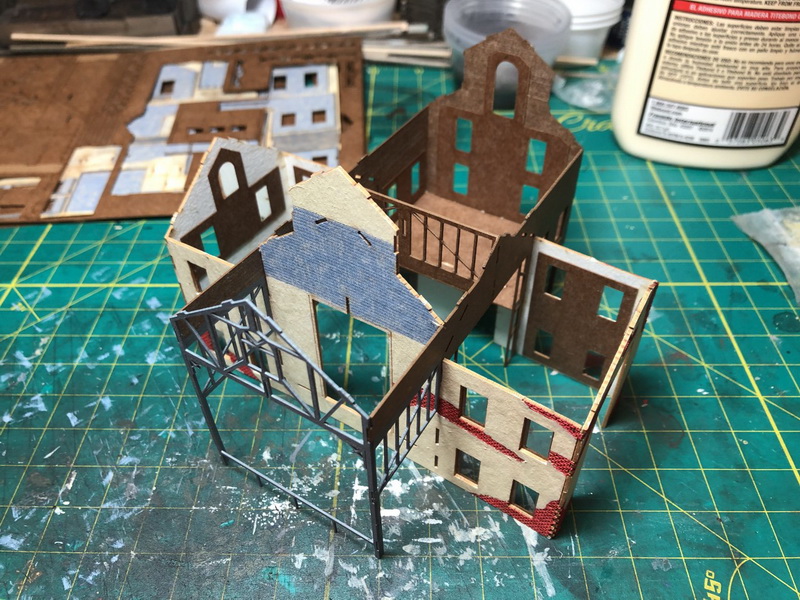 This gives an overall idea of the size of the kit.  |
Part 3 - Showcase Miniatures: R. Perez & Sons Car & Carriage Works. More framework, walls and overlays. It's really starting to take shape now 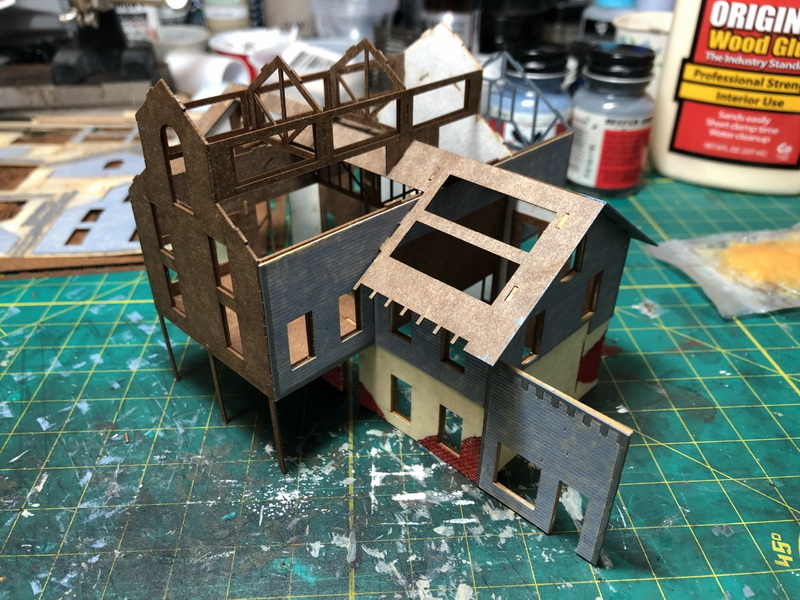    |
Part 4 - Showcase Miniatures: R. Perez & Sons Car & Carriage Works. Installed lighting and roof panels 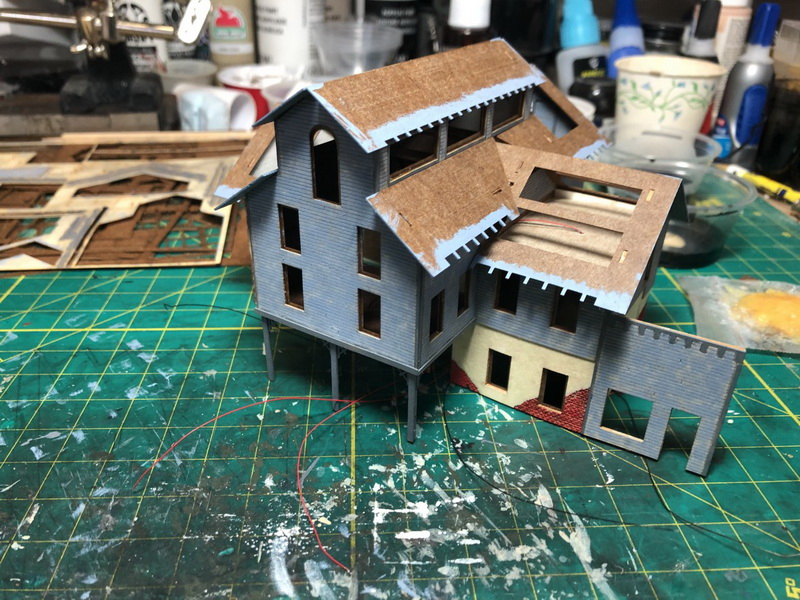 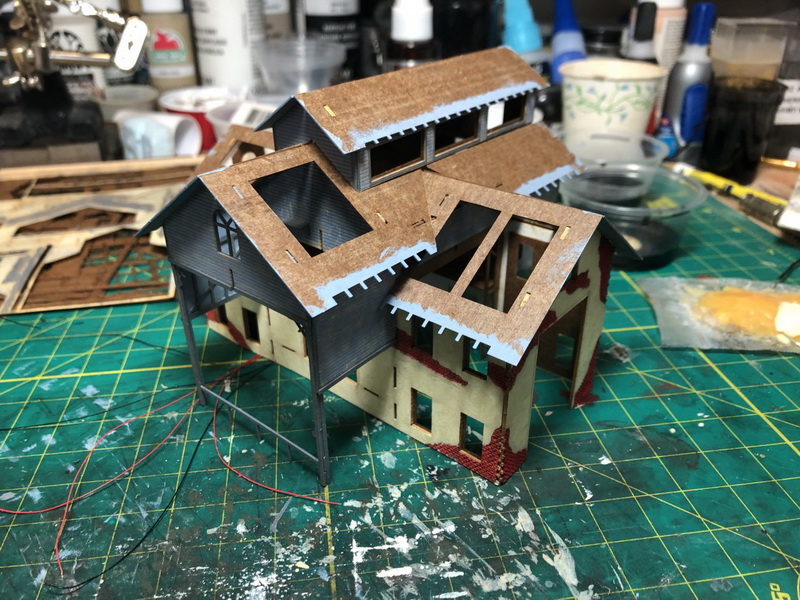 Added the loading dock and working on the freight doors and overhead beam. 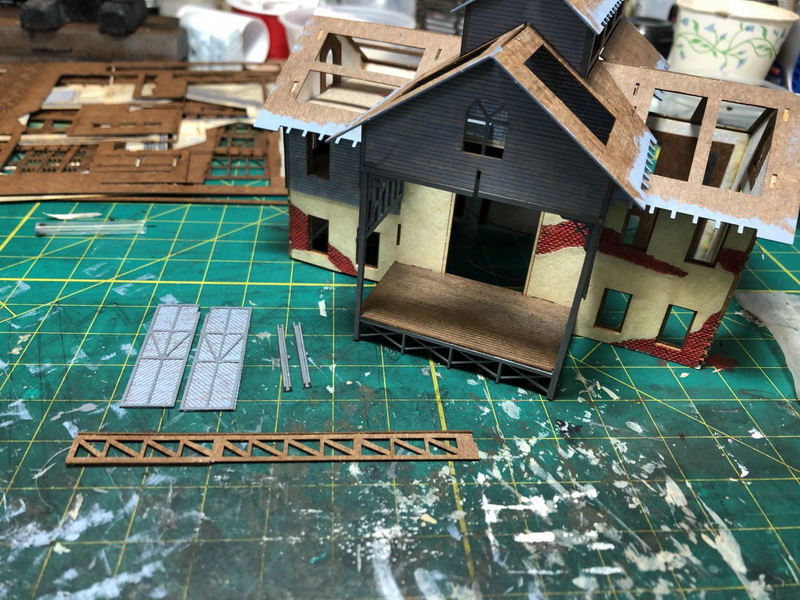 |
Part 5 - Showcase Miniatures: R. Perez & Sons Car & Carriage Works. Painted and installed the dock boom and doors. Then scratchbuilt a crane/hook for it. Added the office walls and roof. Painted the interior.   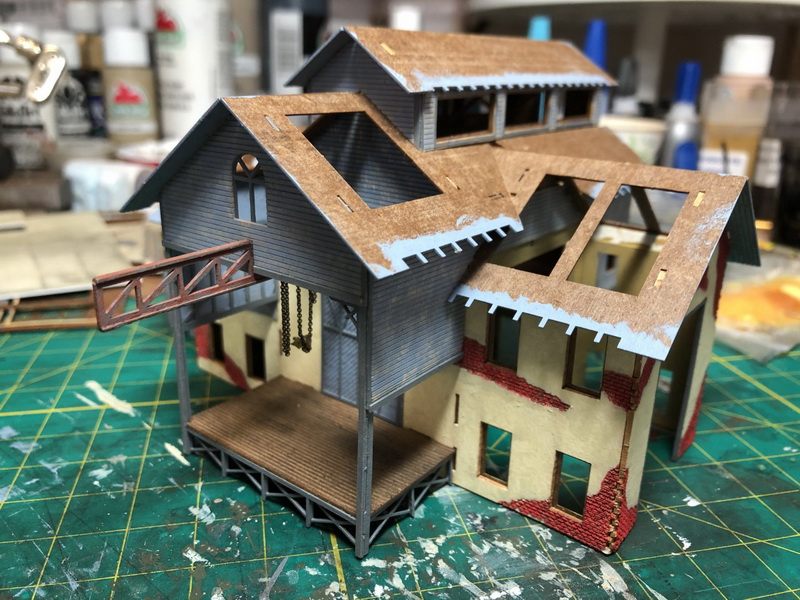 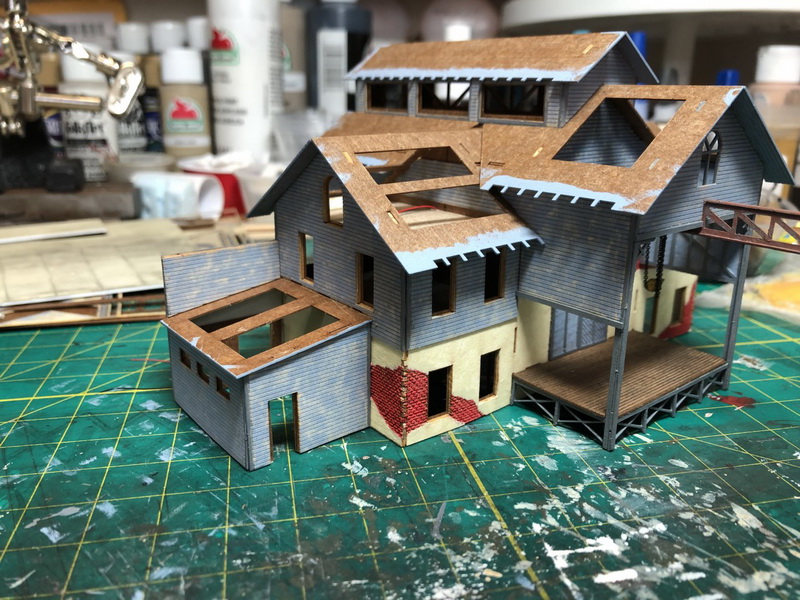 And built a base for it so that I can have the main doors open and push cars in for repairs.  |
Part 6 - Showcase Miniatures: R. Perez & Sons Car & Carriage Works. Installed the front doors and overhead light. Did a lot of touch up painting on the stucco/brick (not visibile in photo below but noticable in all the previous photos) then started installing windows 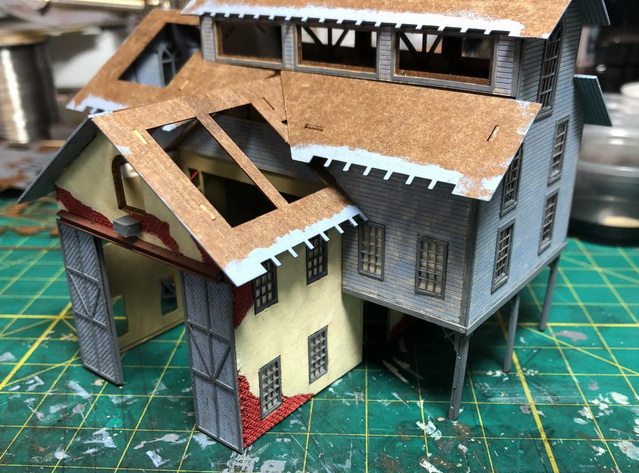 |
Part 7 - Showcase Miniatures: R. Perez & Sons Car & Carriage Works. Installed the remaining windows and doors on the main building then painted and installed the clerestory windows. Next up is the trim work, signage and roofs.  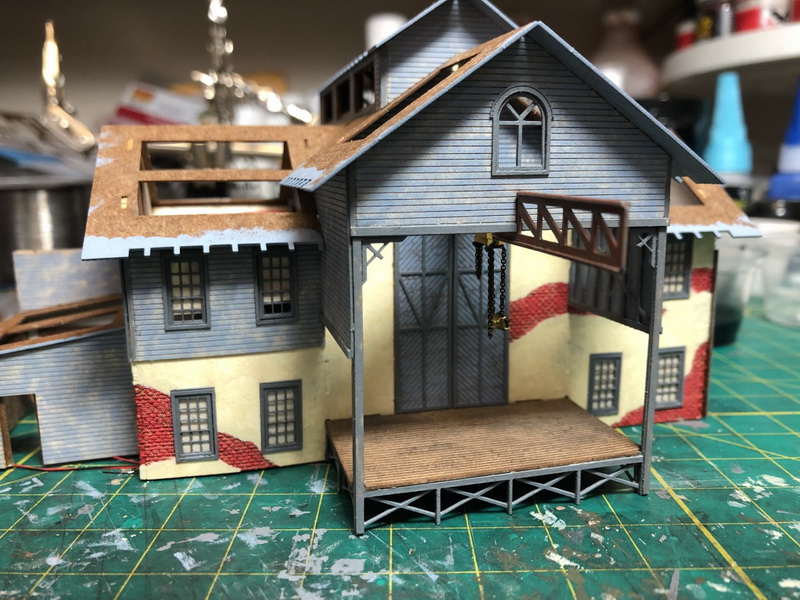 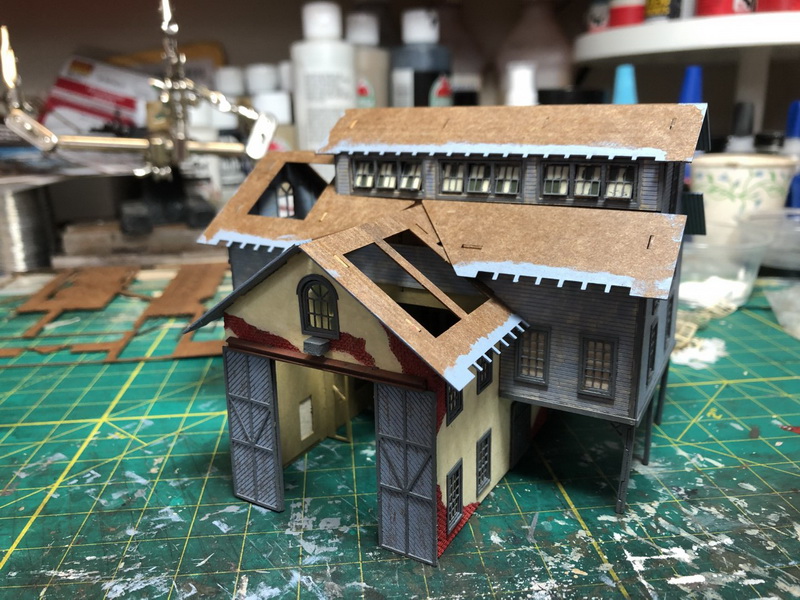 |
Part 8 - Showcase Miniatures: R. Perez & Sons Car & Carriage Works. Spent 3 hours installing trim and gables! All that work and you can barely tell they are even there. Set it on its base to see how everything will look when done   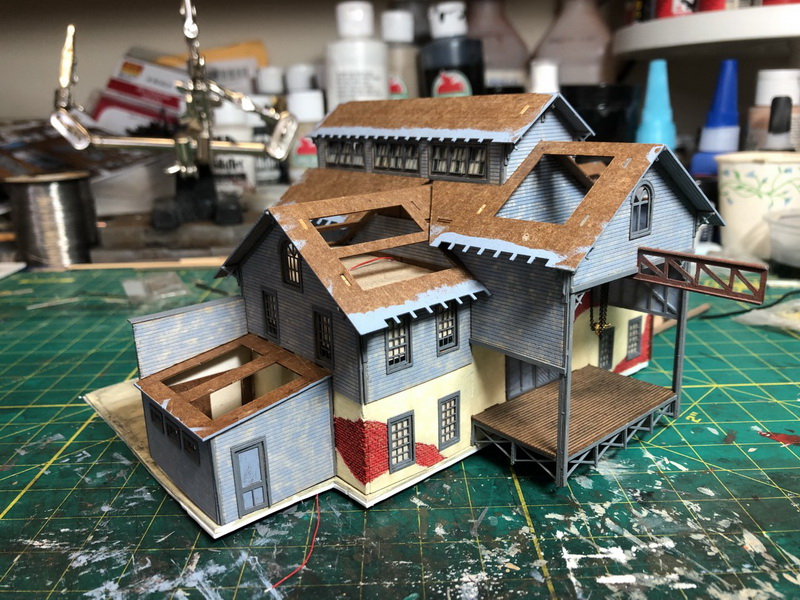   |
Part 9 - Showcase Miniatures: R. Perez & Sons Car & Carriage Works. Did some cleanup work after looking at yesterday's photos. Then installed the roofing and weathering. Again, just sitting on the base for effect. Still have some cleanup work to do I noticed in these photos. Then I can solder up the connection for the lights and add a little bit of interior detail.     |
Part 10 - Showcase Miniatures: R. Perez & Sons Car & Carriage Works. Connected up the lights and attached the base. Aside from a little interior & exterior detailing (when its spot on the layout is ready) this one is done.     |
Part 1 - Bar Mills: TJ Reilly's Kit. Starting a new kit. Here is the initial staining and painting of the walls.  |
Part 1 - Building a Rail Bus A couple of weeks ago a friend on the Railwire 3d printed a Rail Bus in HOn3 for himself. Just for grins he decided to print one in O scale and then one in N scale just to see how easy it would be to scale up or down. I asked him how much to have an N scale version printed for me and he very generously gave me the N scale one he had already printed. Thus began my newest project, determining a way to power this tiny little rail bus. Thank you Chris333! Looking around, I decided to use a Kato 11-110 powered truck as a starting point 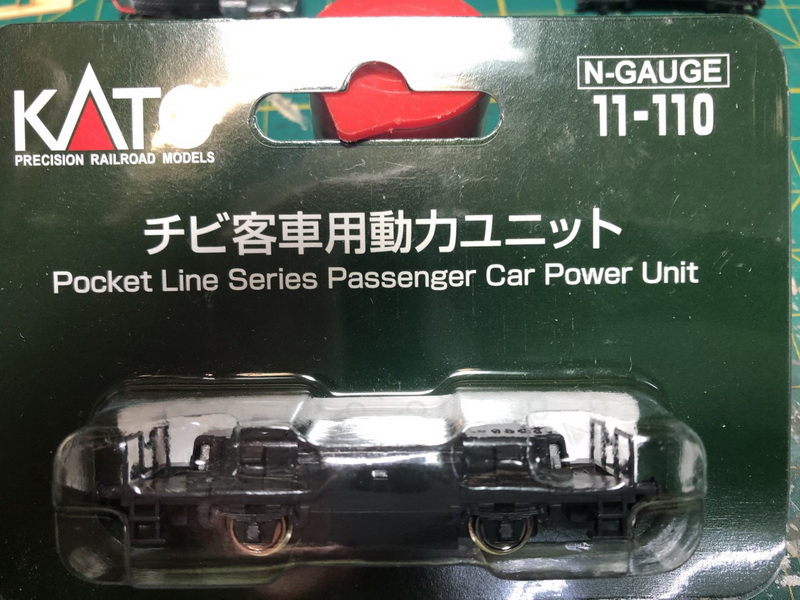 Here is the powered truck disassembled with the rail bus in the background. Each square is 1/2 inch, making this little thing only 1 1/2 inches long! 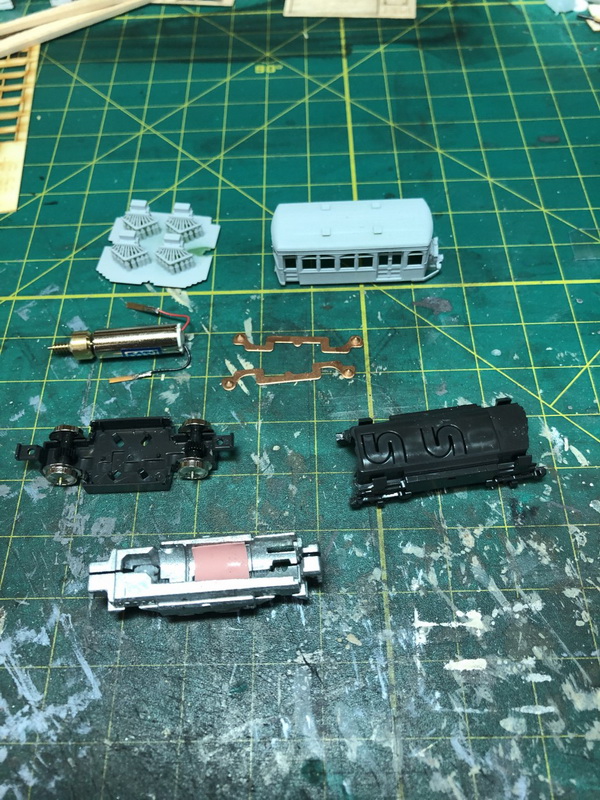 The next step was to trim down the base and to file down the ends of the drive mechanism. I had to slightly round the ends to get the rail bus frame to slide on. 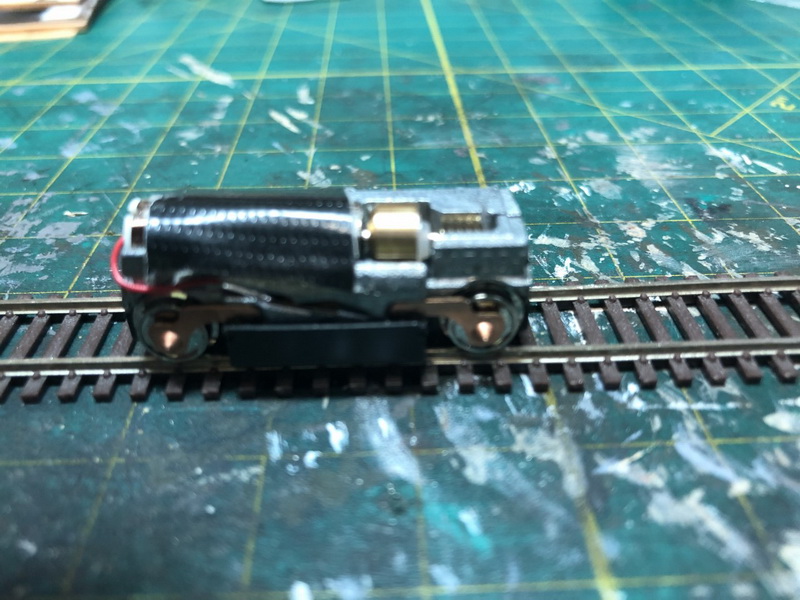 Here it is press fit together taking a test run in DC mode  Then I installed a DZ126 to convert it to DCC. 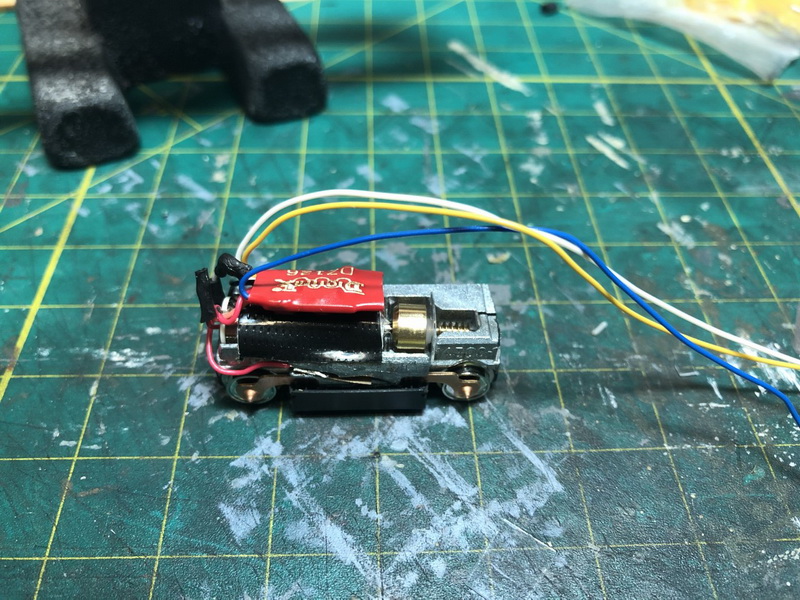 Next up: Drill out the headlights and install the tiny little LEDs. That's what the blue and white wires are for. The yellow will get trimmed off. Then painting and determining a way to install some sort of mock interior so you don't see all the junk inside. |
Part 2 - Building a Rail Bus Trying to drill out the headlights broke them both off. I will need to come up with something else for that. I am waiting on the lights until I get the body painted, so that is about all I managed to get done. Here is the base colors painted but not much else.  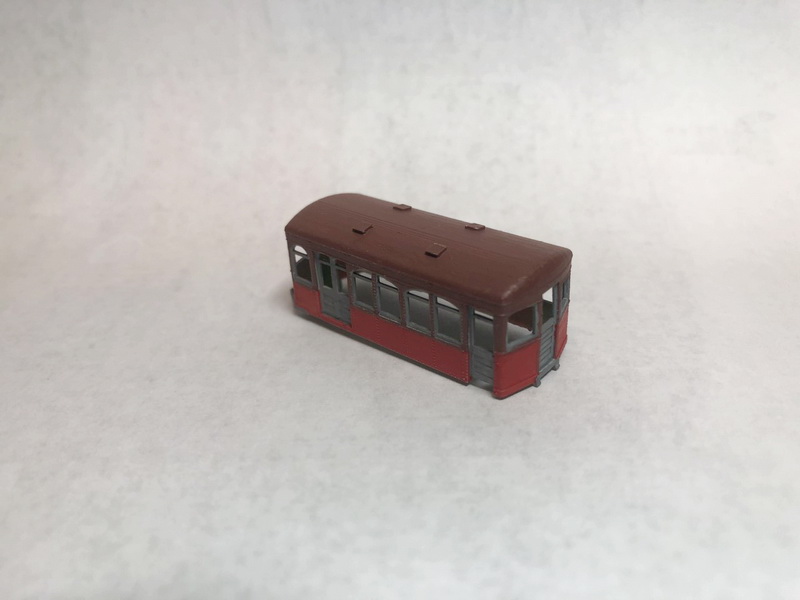 |
Part 3 - Building a Rail Bus Got the headlights wired up and the body weathered. 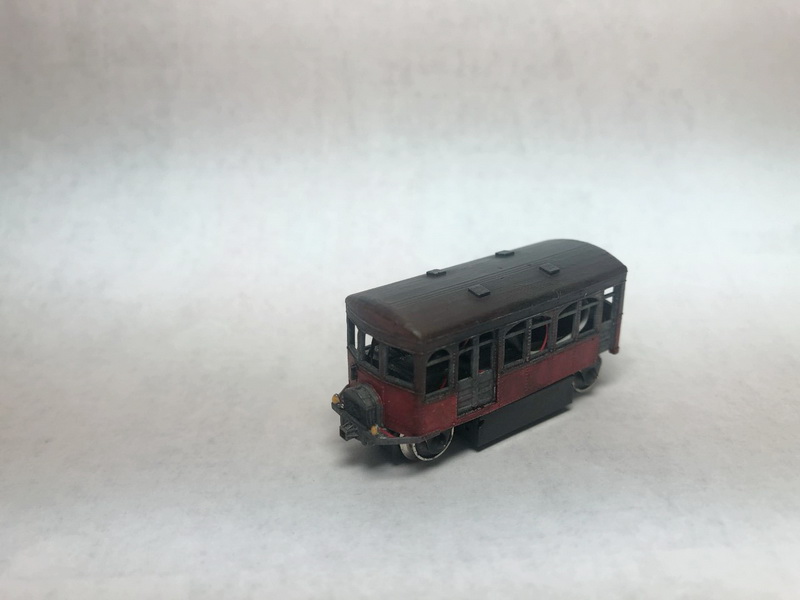  And just to show how small this thing really is, here is a picture with a quarter for scale.  And here is a short video of it running with the lights on. Next up: Apply decals and the cowcatcher. |